When you are browsing different web sites, you may notice that many users have a picture next to their name These pictures are called avatars or the well known “Gravatars”, also called short for “Globally Recognized Avatar.These are tiny images, often called your online identity picture,logo which represents the identity of you or your blog. Gravatars follow you around the web choose from your existing WordPress.com sites to display a screenshot on your profile.Most important is using Gravatar can makes you recognisable anywhere easily when tou post a comment on any wordpress powered website.
![]()
Why we need to use Gravatars?
There are a couple really good reasons for setting up and using a Gravatar. The first on the list should probably be recognition and identity they do essentially go hand-in-hand in this case. The internet is a hard place to make a name for yourself, While it is possible to use a WordPress Plugin to manage user avatars on your WordPress-run site, using Gravatars on your site makes less work for both you and your site’s users.
Benefits for Administrators
- You can add user Gravatars in very less time with less effort
- If you are using Gravatars then you need not to maintain an extra Plugins.
- You don’t have to manage user accounts, or their images, for commenters to use Gravatars on your site.
Benefits for Users
- You don’t need to register for every site you visit just to use a Gravatar.
- You can update the Gravatar you use across multiple sites by uploading a single image in a single place.
How To Set Up Gravatar Profile ?
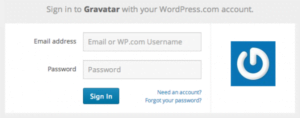
To get started, go to the Gravatar website.On the top right corner of the page you will find a sign in button this allows you to you to sign in with your WordPress.com information.Even though you don’t have account, click the button anyway
![]()
- Now you’ll be taken to a sign in page.In the bottom under the password section you will notice a small link “Need an account ?” Follow that link to the next screen.
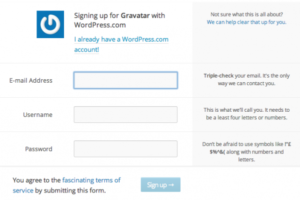
- Now you are entered in to signup page it will be ask to enter an email address, user name and a password in order to create the account. Fill out the areas, and be sure to maintain that login information handy.Once you sign up, you will be sent a confirmation email to the registered email that you have entered. Now check your email and click the confirmation link to activate your WordPress.com account. A new screen will open, and you’ll see the button prompting you to sign in to Gravatar.
- 3Now you will be directed to the sign in screen on Gravatar’s site (pictured above). Use your new WordPress.com account information to sign in, and then you can start setting up your Gravatar.
Setting Up Your Gravatar :
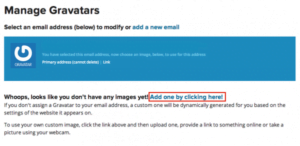
You can add additional emails to your Gravatar account if you’d like. Otherwise, click on the “Add one by clicking here!” to add the photo that you want associated with your email. Choose an image from your hard drive or from the internet. And then select the picture you want to use.
Gravatar will ask you to crop your image, and provide you with previews so you know how it will look in different formats. Click the blue button to finish
Next, you will be required to choose a rating for the picture: G, PG, R, and X ratings. Though the picture you choose is entirely up to you, it is generally best to use a G or PG rated profile picture as the R and X rated pictures are often blocked on most WordPress sites.
![]()
After that, your Gravatar is all set up ! You can add emails and images at any time by logging into your Gravatar account and using “My Account” button in the upper right corner, which gives you several options.Such as managing your gravatars,editing your profiles,adding an image,adding the secondary email etc.and you can control which image appears on different websites based on the email you use when you sign in to write a blog post or leave a comment on sites that use the Gravatar system. It is a universal method of controlling your image from one location across the entire web.